
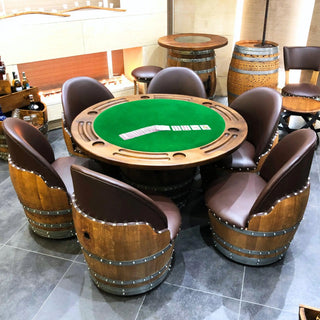
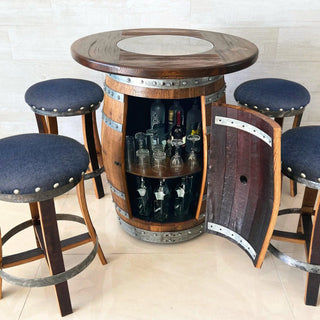
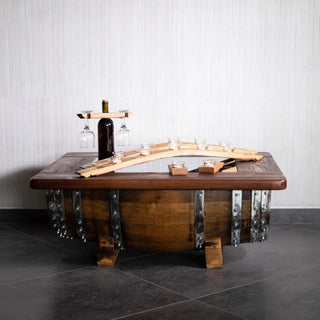
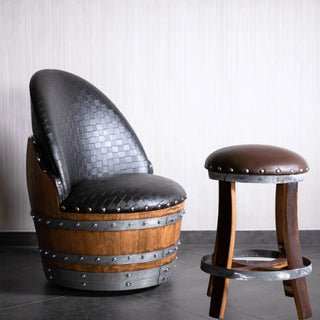
Barrel furniture repair is one of the most common questions we field from owners of wine barrel furniture, and the good news is that nearly every issue you will encounter falls into one of three categories: a hoop that has shifted loose, a stave that has started to squeak, or a top surface that has picked up a scratch. All three are fixable at home with basic tools, usually in under two hours, without removing the piece from the room. If a repair feels outside your comfort zone at any point, reach out to the family workshop and we will talk you through it.
Authentic wine barrel furniture made from real 53-to-59-gallon Bordeaux-type cooperage barrels is built to flex slightly with seasonal humidity. That flex is what makes the wood last for decades, and it is also why minor adjustments are part of normal ownership. This guide walks through all three repairs in the order an owner is most likely to need them.
Time required and skill level
| Repair | Time | Skill level |
|---|---|---|
| Re-tighten a loose hoop | 30-45 minutes | Beginner |
| Stop a squeaky stave | 45-90 minutes | Beginner-intermediate |
| Remove a top scratch | 60-120 minutes (most is drying) | Intermediate |
Tools and materials
| Tool / material | Used for | Approx. cost |
|---|---|---|
| Rubber or rawhide mallet (16-24 oz) | Tapping hoops, never a steel hammer | $15-30 |
| Block of scrap hardwood (oak preferred) | Cushioning hoop strikes | Free / scrap |
| Wooden wedges or shims | Holding stave position during hoop work | $5 |
| Beeswax bar or paraffin wax | Wood-on-wood lubricant for squeaks | $8 |
| 1/4-inch oak dowel + wood glue | Reinforcing loose stave joints | $10 |
| 220-grit and 320-grit sandpaper | Scratch removal | $6 |
| Mineral spirits + clean rags | Surface cleaning before finish | $10 |
| Spar varnish (satin), 1/2-pint can | Topcoat touch-up | $15-20 |
| Natural-bristle artist brush, 1/2-inch | Applying varnish | $8 |
| 0000 steel wool | Blending repaired area | $6 |
| Soft cotton t-shirt or lint-free rag | Wiping back finish | Free |
| Painter's tape | Masking unaffected areas | $5 |
Total starter kit: about $90. Most of it you will reuse for years.
Repair 1: Re-tightening a loose hoop
A hoop is the metal band that compresses the staves of a barrel together. On furniture, hoops sometimes slide a half-inch out of position after a season of dry indoor air shrinks the wood slightly. A loose hoop looks crooked, sits unevenly around the barrel, and may rattle if you press on it.
Step 1: Identify which hoop has shifted. Run your hand around each hoop. The loose one will feel slightly off the wood, or you will see a gap of light between the band and the staves. Most barrels have four to six hoops; loosening usually happens to the upper hoop (called the chime hoop) or the second hoop down (the quarter hoop).
Step 2: Mark the hoop's correct position. Look at the other hoops on the barrel — they sit parallel to each other at consistent spacing. With a pencil, lightly mark on the staves where the loose hoop should be (typically aligned with the original wear line on the wood).
Step 3: Position a hardwood block on the hoop edge. Hold a 4-to-6-inch block of scrap oak flat against the upper edge of the hoop, on the side opposite the direction you want the hoop to move. Never strike the hoop directly with a metal tool — it will dent and the dent will catch on the stave forever.
Step 4: Tap the block with the rubber mallet. Work your way around the barrel, tapping every 4-6 inches, moving the hoop down (or up) in small increments. One firm tap, move the block, one firm tap. Do not try to drive the hoop home from one spot — it will tilt and bind.
Step 5: Check seating. When the hoop is back on its mark, run a fingertip around the gap. It should be flush against the staves the entire way around. If one section still gaps, tap that section only.
Step 6: Wedge if needed. In rare cases, a stave under the hoop has shrunk far enough that the hoop cannot fully compress. Tap a thin wooden wedge (you can whittle one from scrap) into the gap between hoop and stave, then trim flush with a utility knife. This is a permanent fix and is invisible at arm's length.
Repair 2: Stopping a squeaky stave
A squeak happens when two staves rub against each other under load — typically when someone sits on a barrel chair, leans on a bar top, or shifts weight on a barrel stool. The fix is either lubrication (for cosmetic squeaks) or mechanical reinforcement (for structural movement).
Step 1: Locate the squeak. Have someone apply pressure where the squeak occurs while you listen with your ear close to the wood. Mark the joint with a pencil. Most squeaks are at one specific stave-to-stave joint, not the whole piece.
Step 2: Try the lubricant fix first. Rub a beeswax bar firmly along the seam between the two squeaking staves, working the wax into the joint. Press the wax in with your thumbnail. This is wood-on-wood lubricant — it does not stain, it does not leave residue, and it lasts six months to two years.
Step 3: Test. Reapply pressure. Most cosmetic squeaks vanish at this step.
Step 4: If the squeak persists, reinforce with a dowel. Persistent squeaks mean the staves are actually moving, not just rubbing. Drill a 1/4-inch hole at a 30-degree angle through one stave and into the neighboring stave, going about 1 inch deep. The hole should be hidden — drill from the bottom edge of a bar top, the inside of a barrel chair, or the underside of a stave bench.
Step 5: Glue and insert the dowel. Apply wood glue (Titebond II or similar) to a 1.5-inch piece of 1/4-inch oak dowel, tap it into the hole with the mallet, and trim flush with a flush-cut saw. Wipe excess glue with a damp rag immediately. Titebond recommends not stressing a new glue joint for a minimum of 24 hours (Titebond wood glue FAQs).
Step 6: Let cure 24 hours before reloading the joint. The dowel pins the two staves together and the squeak is permanently gone. Most barrel chairs need at most one or two of these.
Repair 3: Removing a scratch from a barrel top
Scratches happen. The good news: the spar varnish topcoat on quality wine barrel furniture is built to be repaired in place, the same way a wooden boat's brightwork is repaired.
Step 1: Assess depth. Drag a fingernail across the scratch. If your nail does not catch, it is a finish scratch — only the varnish is damaged. If it catches, the scratch has gone into the wood. The repair is the same, but wood-deep scratches take more sanding.
Step 2: Clean the area. Wipe with mineral spirits on a clean rag to remove wax, oil, and dust. Let dry five minutes.
Step 3: Mask around the scratch. Run painter's tape about 1 inch away from the scratch on all sides. This keeps your sanding from blending into undamaged finish.
Step 4: Sand the scratch only. Wrap 220-grit paper around a small block. Sand the scratch only, going with the grain, until the scratch is gone or flush with surrounding wood. Switch to 320-grit and sand the same area smooth. Then sand a 1/4-inch ring around the scratch with 320-grit to feather the edge.
Step 5: Remove tape and dust. Pull tape, wipe area with a tack cloth or damp microfiber, let dry.
Step 6: Apply spar varnish. Using the artist brush, apply one thin coat of satin spar varnish to the repaired area only. Brush along the grain. Let dry per can directions — usually 4-8 hours. Epifanes recommends first making sure the wood is completely clean of all dirt, wax or other contamination before applying a clear finish (Epifanes, Painting Wood).
Step 7: Blend with steel wool. Once dry, lightly rub the repaired area and 2 inches around it with 0000 steel wool, going with the grain. This dulls the new finish to match the surrounding satin sheen.
Step 8: Wipe with cotton rag. A final wipe brings everything to a uniform appearance. From three feet away, the repair is invisible.
Common mistakes to avoid
- Striking a hoop with a steel hammer. Always use rubber or rawhide on a hardwood block. Steel marks the metal permanently and the dents will snag.
- Oversanding a scratch. If you sand too far, you create a shallow valley that catches light differently than the surrounding surface. Stop the moment the scratch disappears.
- Using polyurethane instead of spar varnish for touch-ups. Polyurethane will not blend with the original spar varnish and will show as a different sheen. Match what is on the piece.
- Applying oil to a squeak. Oil migrates, darkens the wood around the joint, and creates a permanent stain ring. Use wax.
- Trying to drive a hoop home in one spot. Always work around the barrel in small increments.
- Skipping the cure time on the dowel repair. Twenty-four hours is the minimum. Reloading early breaks the bond.
When to call the workshop
If a repair is beyond your comfort level — a cracked stave, a structurally loose head, or a finish failure across more than a small area — that is the right moment to email our family workshop. Authentic wine barrel furniture is built to be maintained, not replaced, and most owners find that doing these small repairs themselves deepens the relationship with the piece.