How to Turn a Wine Barrel into a Planter
Why a Wine Barrel Planter?
Plastic pots are fine. Terracotta pots? Classic. But let’s be real — nothing turns heads like a wine barrel planter. It’s rustic, it’s sturdy, and it feels like a piece of vineyard history landed right in your backyard.
Every time I’ve rolled a half barrel onto a patio or set one by the garden gate, people ask about it. “Is that a real wine barrel? Where’d you get it?” There’s something about oak staves and iron hoops that instantly says: this isn’t just a pot, this is character.
The other big plus? These things are tough. Wine barrels are built to hold 50+ gallons of liquid for years, even decades. That makes them perfect for holding soil, plants, and even small trees. Instead of cracking or fading after a season like cheap planters, barrels weather gracefully. They pick up that silvery patina, the hoops rust just a little, and before long, your yard looks like it’s been cultivated for generations.
What You’ll Need
Here’s your basic kit. Don’t worry — nothing here requires a pro shop.
- One oak wine barrel. Full, half, or quarter depending on your space. Make sure the staves are tight and the hoops aren’t falling off.
- Saw. Circular saw if you want a clean cut, reciprocating saw if you like more control.
- Drill. You’ll need this for drainage holes and reinforcement.
- Screws, bolts, or rivets. To secure the staves to the hoops before cutting.
- Sandpaper or power sander. 80–120 grit for smoothing edges.
- Soil mix. Potting soil + compost is best. Throw in a bit of perlite for drainage.
- Plants. Herbs, flowers, veggies, or even small fruit trees — your call.
- Optional extras. Casters (so you can roll it), liner (slows down wood rot), varnish (if you want a polished look), or a stand to lift it off the ground.
Pro Tip 💡: If you’re not keen on sawing through oak (and trust me, it can be stubborn), Oak Wood Wine Barrels already makes ready-to-use planters. But if you like the smell of sawdust and the satisfaction of DIY, keep reading.
Step 1: Reinforce the Barrel
Barrels look rock-solid, but they’re really just puzzle pieces — curved staves squeezed together by metal hoops. If you cut without locking those pieces down, you’ll end up with a pile of wood instead of a planter.
So first things first: reinforce. Drill screws, bolts, or rivets through each hoop into the staves. Space them out evenly. This “locks” the barrel so it stays tight even after you make cuts.
Pro Tip 💡: Stainless steel screws are best outdoors. They won’t rust like regular screws, so your planter holds up longer.
Step 2: Decide on Size
You’ve got options, and it depends on your space and what you want to grow.
- Full barrel planter. Big, bold, perfect for small trees or shrubs. I’ve seen people grow dwarf citrus or even small Japanese maples this way. It’s a statement piece.
- Half barrel planter. Classic. Easier to move, fits most patios, and great for flowers, herbs, or veggies. This is the sweet spot for most people.
- Quarter barrel. Small, tidy, and great for entryways, steps, or lining a walkway. Perfect for decorative plants.
If you’re cutting your own, measure carefully and mark your cut line with chalk or tape. Cutting straight around a round barrel isn’t as easy as it sounds. Go slow and steady.
Pro Tip 💡: Put the barrel on a couple of sawhorses before cutting. Way easier to keep steady than wrestling it on the ground.
Step 3: Drill Drainage Holes
This is the single most important step. No drainage, no happy plants. Roots sitting in water = root rot = dead planter.
Flip the barrel over and drill 6–10 holes in the bottom, at least ½ inch wide. More if you’re planting something water-sensitive.
Pro Tip 💡: After drilling, toss in a layer of gravel or broken terracotta shards before adding soil. This improves drainage and keeps soil from plugging the holes.
Step 4: Sand & Smooth
If you cut the barrel, sand those edges. A quick pass with 80–120 grit will keep you from getting splinters every time you move it.
You don’t have to sand the whole barrel unless you want a polished look. Personally, I like leaving the staves weathered. The dents, stains, and patina? That’s character.
If you’re putting the planter somewhere guests might brush against it (like a patio), give the outside a light sand to smooth rough spots.
Step 5: Line or Seal (Optional)
Soil + water = eventual wood rot. Barrels are tough, but even oak has limits. If you want your planter to last longer, here are two tricks:
- Line it with heavy-duty plastic. Just make sure to poke holes where your drainage holes are.
- Brush the inside with a waterproof sealer. Exterior-grade varnish or even beeswax-based sealers work.
Pro Tip 💡: Don’t use metal liners. They trap heat and can bake your plants’ roots in summer. Stick to breathable materials.
Step 6: Fill with Soil
Skip the temptation to shovel in backyard dirt. Yard soil compacts too much in a barrel, starving roots of air.
Instead, mix it up:
- 2 parts potting soil
- 1 part compost
- A few handfuls of perlite or coarse sand for drainage
Fill the barrel about ¾ of the way. Leave a few inches at the top so water doesn’t spill over every time you irrigate.
Pro Tip 💡: If your barrel is huge and you don’t want to waste soil at the bottom, fill the first 6–8 inches with lightweight filler — crushed cans, plastic bottles, or pinecones. It saves soil, improves drainage, and makes the planter lighter.
Step 7: Plant Something Beautiful
Now the fun part.
- Flowers. Petunias, geraniums, pansies, and marigolds thrive in barrels. Mix colors for a bursting display.
- Herbs. Basil, rosemary, thyme, chives, and parsley love the roomy soil. Just keep mint in its own barrel — it’ll take over everything.
- Veggies. Tomatoes, peppers, lettuce, even dwarf cucumbers can do great. Think of it as your mini kitchen garden.
- Shrubs or trees. Dwarf citrus, blueberries, or even a fig tree if you’re feeling ambitious.
Arrange taller plants in the center or back, trailing plants at the edges, and fillers in between. The “spiller-thriller-filler” formula works wonders in barrels.
Pro Tip 💡: Add a slow-release fertilizer when you plant. Barrels have a lot of soil, and nutrients get used up fast.
Step 8: Water & Maintain
Because barrels are deep, they hold water longer than small pots. That’s good — less watering. But in summer heat, they still dry out.
Stick your finger two inches into the soil. If it feels dry, water. Simple as that.
Every spring, top off with compost. Every 2–3 years, dump the soil completely, give the barrel a quick scrub, and start fresh.
Pro Tip 💡: Put your barrel planter on bricks or a stand. Keeps it off the ground, improves drainage, and slows down wood rot at the base.
Step 9: Add Finishing Touches
This is where the planter goes from “functional” to “fantastic.”
- Mount casters so you can roll it around the patio.
- Stencil or brand the barrel with your family name or a vineyard logo.
- Wrap fairy lights around the hoops for evening ambiance.
- Plant cascading flowers (like lobelia or ivy) that spill over the sides for that lush, overflowing look.
I once saw someone fill a half barrel with strawberries, letting the plants trail over the edge. Every summer, it turned into a cascading tower of fruit. Gorgeous and delicious.
Living with a Wine Barrel Planter
The best thing about barrel planters? They get better with age. The wood slowly silvers, the hoops rust just enough to look authentic, and the plants settle in like they’ve always been there. Plastic cracks. Terracotta crumbles. Oak barrels? They grow old gracefully.
And every single one is unique. Some have deep purple stains from red wine, others golden streaks from chardonnay. Some smell faintly of whiskey. No two planters are alike — and that’s what makes them special.
DIY vs Ready-Made
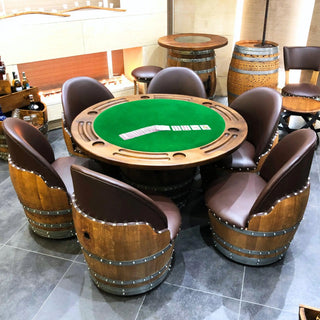
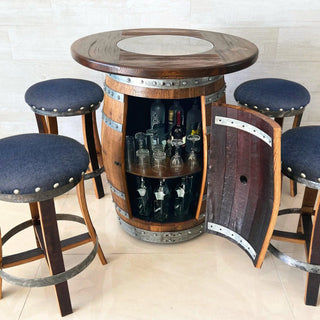
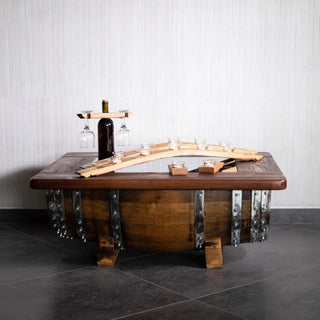
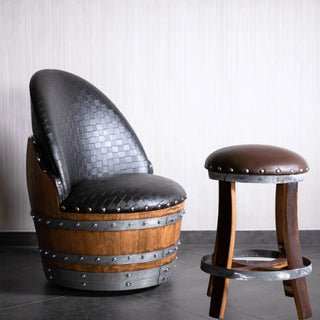
Building your own planter is fun, simple, and satisfying. But let’s be real — sometimes you just don’t feel like cutting and drilling. That’s okay. Oak Wood Wine Barrels makes ready-to-go options like the wine barrel planter, the wine barrel fire pit (same rustic vibe, different purpose), and even the wine barrel dog bed (because pets deserve rustic charm too).
Whether you build or buy, you end up with something way cooler than a plain old pot.
Our Links
Other Resources to Check Out!
- Fine Gardening Magazine
- Better Homes & Gardens Planting Guides
- Royal Horticultural Society: Container Gardening
Disclaimer
This blog is meant for DIY and gardening inspiration. Every barrel is different — condition, hoop tightness, and stave quality vary. Always reinforce your barrel with screws, rivets, or bolts before cutting. Always drill drainage holes before planting.
Use proper safety equipment when cutting or sanding. Oak dust can be irritating, and hoops may spark when sawed. Work carefully, in a ventilated area, and never rush.
Barrels used outdoors will eventually weather and degrade, even if sealed. Maintenance is required — expect to refresh soil, replace liners, or reseal wood over time.
Oak Wood Wine Barrels provides this content as guidance, but we cannot guarantee your safety or the outcome of your project. For a hassle-free option, explore our handcrafted barrel planters, built by experienced makers for long-lasting beauty.
This content is subject to change. Please enjoy responsibly, work safely, and most importantly — have fun creating something beautiful out of a reclaimed barrel.